
 |
|
|||||||
| Projects Tips, suggestions and discussion on member's gardening projects |
 |
|
|
Thread Tools | Search this Thread | Display Modes |
|
#1
|
|||
|
|||
|
Well, my seedling tables are reaching overflowing levels
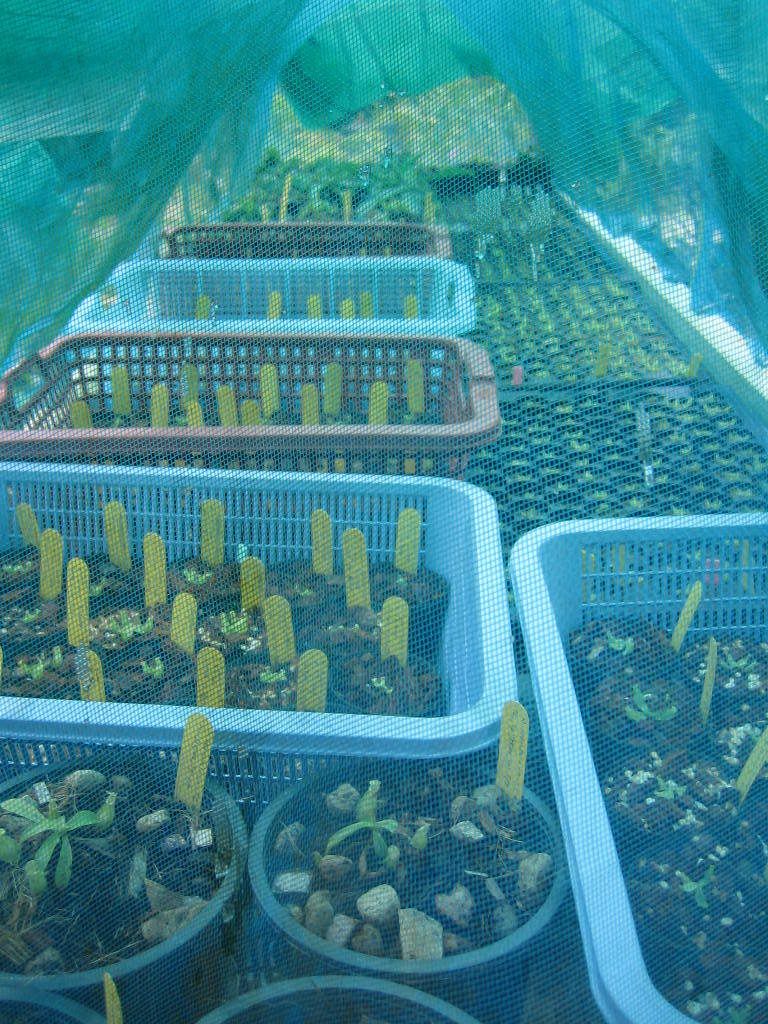 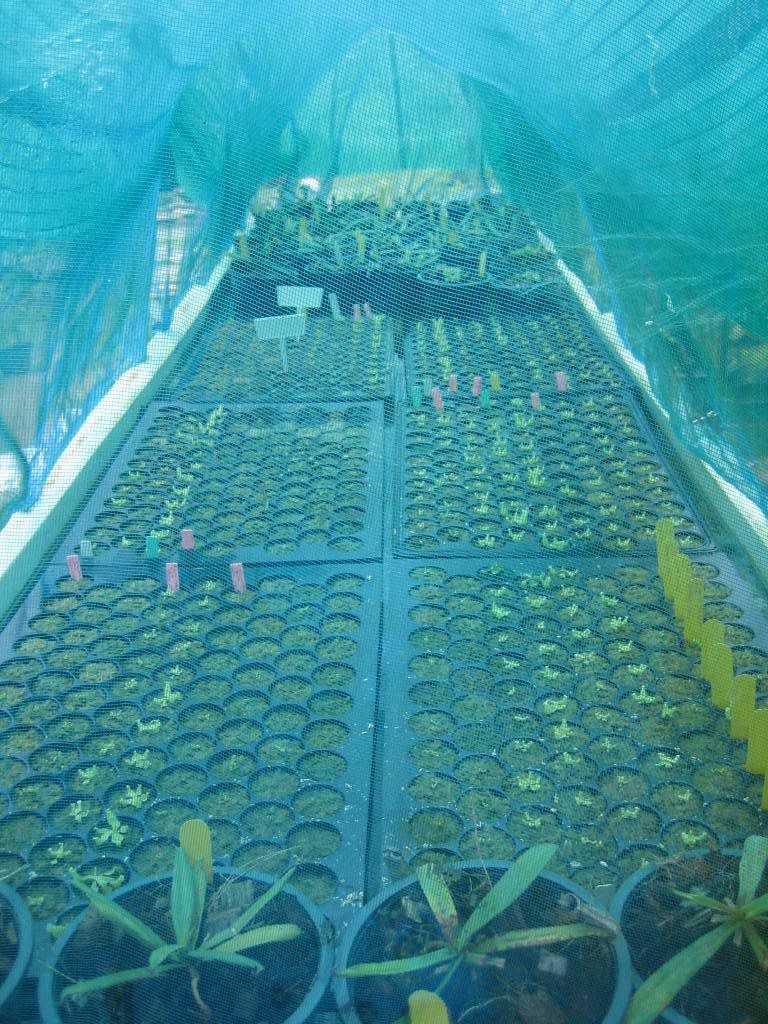 so I decided it's time to expand the grasshopper-free growing areas. The old tables are from my hydroponic farm and I've been using them with 1/4" of water and a capillary mat to hold the seedling trays and small potted transplants so I don't have to worry about any drying out. I decided that I (and the Neps) like the system so much that I am incorporating it in the new growing-on area as well. It's really nice to be able to go away a few days and know they won't be shriveled up when I return. I could have used a plastic sheet on the ground and saved on the cement and work but I didn't have a piece wide enough to do it in one sheet...and I was in a hurry to get this done in a day!  This will just be a small structure to test out the idea for a few weeks, if all goes well we will expand into numerous units. This will just be a small structure to test out the idea for a few weeks, if all goes well we will expand into numerous units. 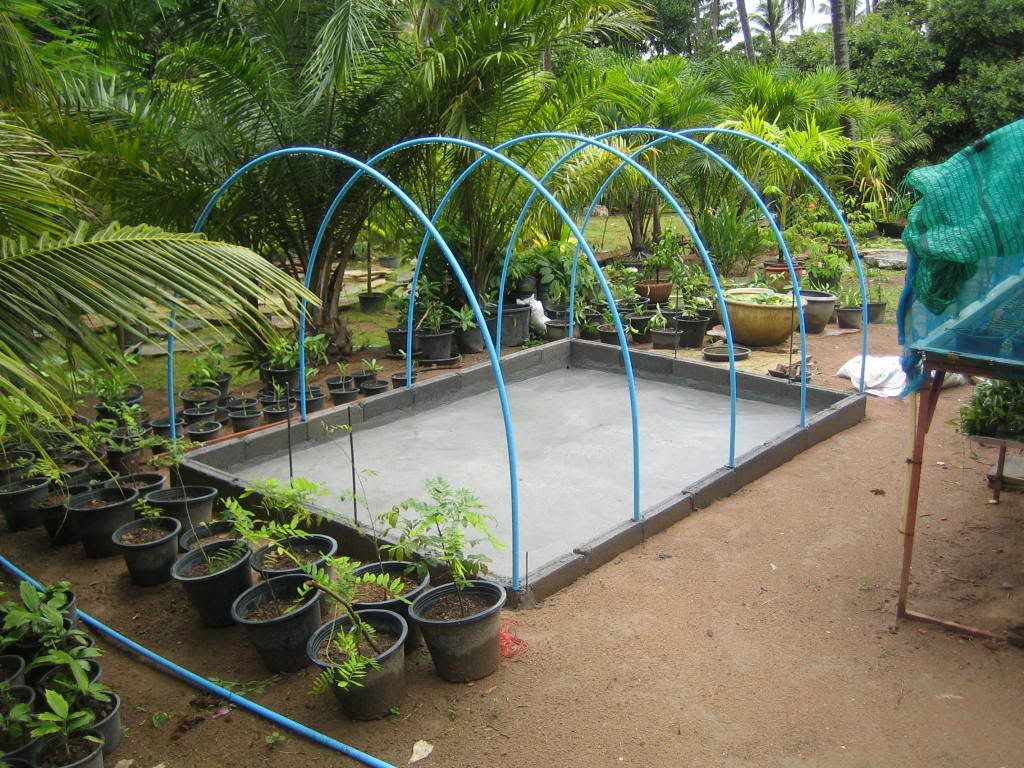 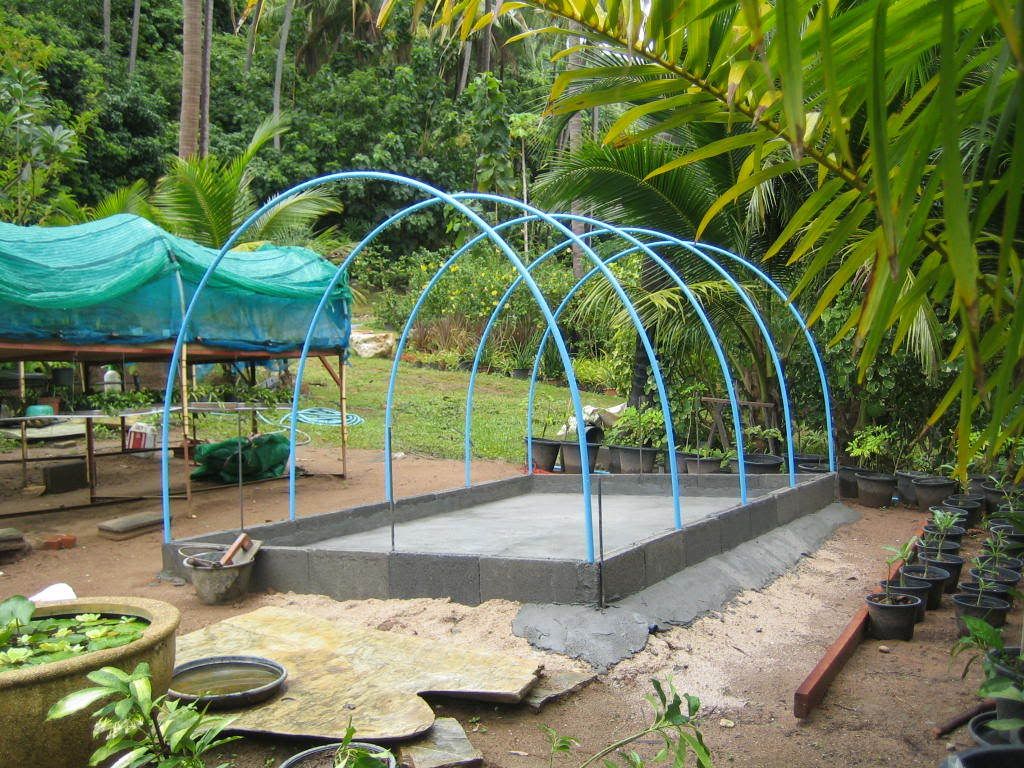 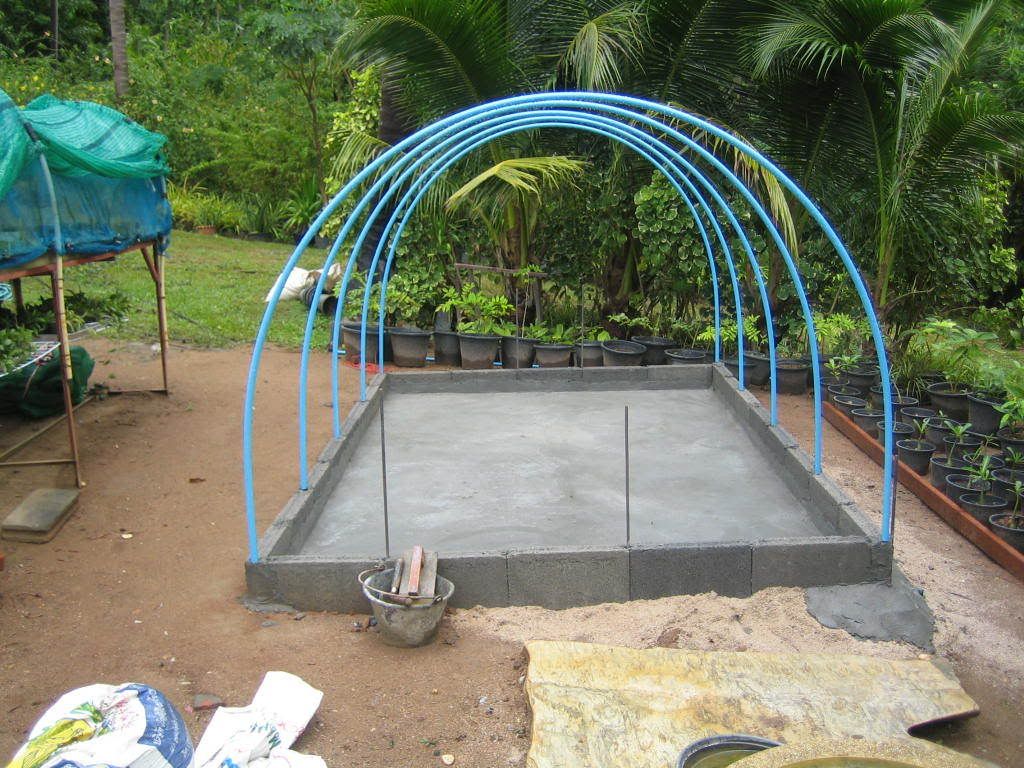 The bottom and sides of the new shade house are coated with a thin layer of plasticized cement to hold water and the entire floor slopes just slightly to a drain for cleaning. There's vertical steel reinforcing bar rods running 50 cm into the ground and 75 cm above, spaced every 2 block along the sides. The PVC pipes are set on top of the rods. Tomorrow I'll attach perlins (rods running the length of the space) joining all the PVC pipes to give more rigidity) and cover the whole thing in shade cloth, install the capillary matting and move the overcrowded small pots into their new home! I'll post again when everybody gets settled in. |
|
#2
|
|||
|
|||
|
nice seedlings you have there.. i wish i had the green thumbs to grow nepenthes form seed....
|
|
#3
|
||||
|
||||
|
That's fantastic Shawint,
Good job!
__________________
http://img33.glitterfy.com/113/glitt...744T815D31.gif |
|
#4
|
||||
|
||||
|
Fantastic Job!!!
__________________
My blog: http://dissidiaffaaron.blogspot.com/ My gardening blog: http://aaronvft.blogspot.com/ |
|
#5
|
|||
|
|||
|
Emmm good work.
 You can open a nursery soon.Hehehe... You can open a nursery soon.Hehehe...
|
|
#6
|
|||
|
|||
|
Well, another day, another usable space!
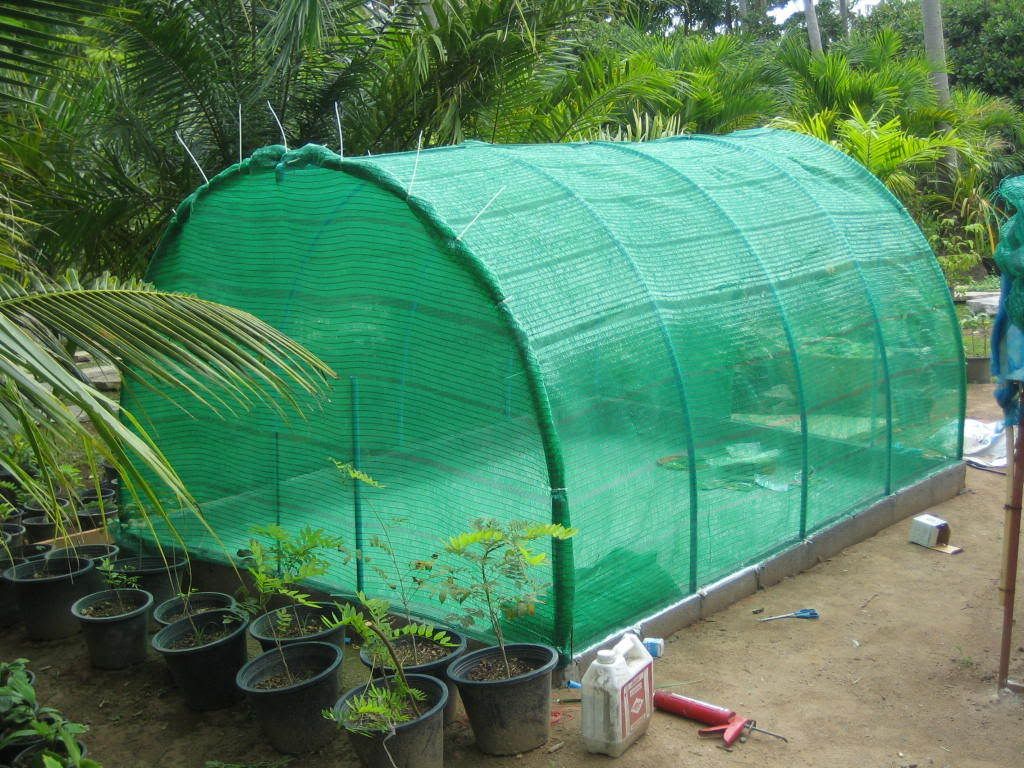 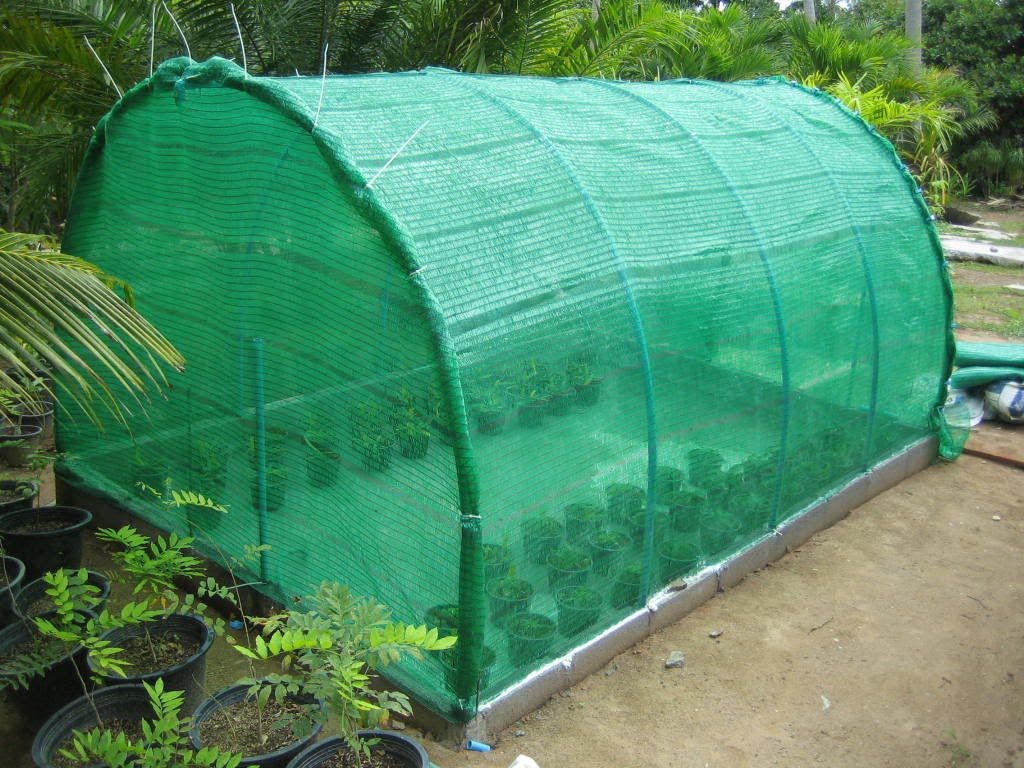 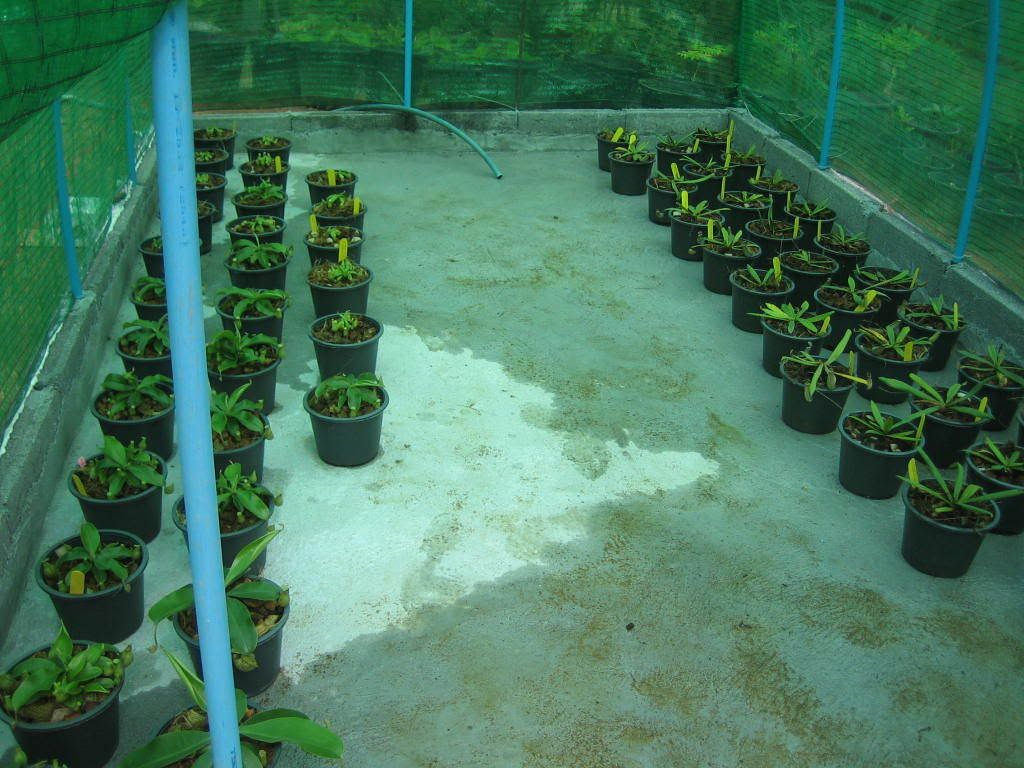 I haven't had time to move much in yet, but I'm already looking forward to having more space in the seedling tables! |
|
#7
|
|||
|
|||
|
Good work Shaw.Wah so many neps
 .... Are you planning to open a nursery soon.Hehehe... .... Are you planning to open a nursery soon.Hehehe...
|
|
#8
|
||||
|
||||
|
Shawn,
I seriously think that with the amount of plants and plantlets you have, you can actually start a nursery and earn some money from it. Question: The blue frames that made up the frame for the roof of your shadehouse... What material is that? Is that metal or palstic?
__________________
Plant Database - Picture Gallery - Little Shop Of Horrors Treat the earth well. It was not given to you by your parents. It was loaned to you by your children. - A Kenyan Proverb |
|
#9
|
|||
|
|||
|
Quote:
Well, we'll see! For now I'm happy trading with people, passing the more common species on to nurseries/garden shops and friends (like the lady in the post office that now calls me the minute my packages arrive on the island!) to get them 'infected' and using them in my landscape jobs. The blue frames are actually just 1/2" PVC pipes! On larger structures I'd use 3/4" pipes and really big ones I use 1" metal pipe but it has to be specially 'bent'. But this is so small that the 1/2" is fine. The first 'trick' is to make sure that the steel rebar is secure at the base (mine are 50 cm into the ground and then encased in concrete) and that they are at least 50 cm (mine are 75 cm.) above the ground so that when you slide the PVC onto them it really can't come off or move. The second trick is to tie them all together by taking another pipe and drilling holes all the way through, then using small drilled 'pilot' holes screwing each arch to the perlin (like beams) so that the structure becomes like a single unit rather than a bunch of floppy arches. Upon starting to fill it up with water to test it out I realized I built in too much slope in the floor! The pots at the low end are in 2" of water when the high end is just starting to get wet...oh well, I know what I'll be doing this Saturday! Just glad I didn't fill it with any more plants yet. 
|
|
#10
|
|||
|
|||
|
Well, I guess this means the test was a failure!
 It's full! Too small! It's full! Too small!Just joking! It must have taken all of two weeks of evenings to transplant enough of the little guys to almost fill it up!  Auuugghhh! Guess we'll try to build another one tomorrow, since it IS a Saturday after all! Auuugghhh! Guess we'll try to build another one tomorrow, since it IS a Saturday after all!  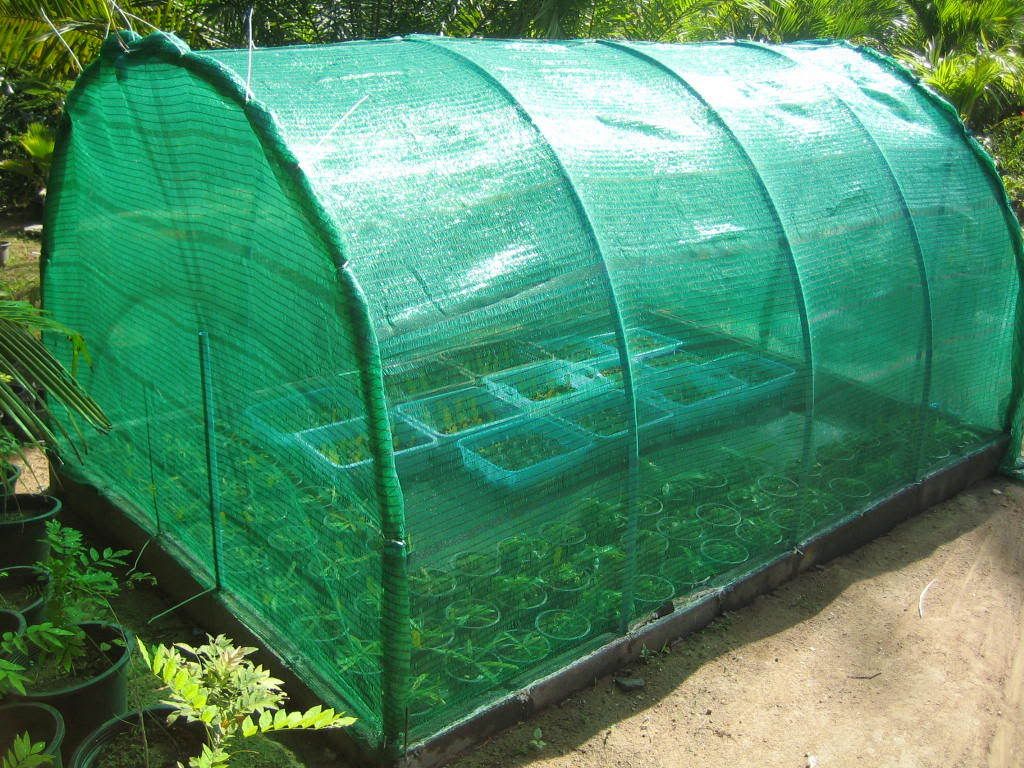 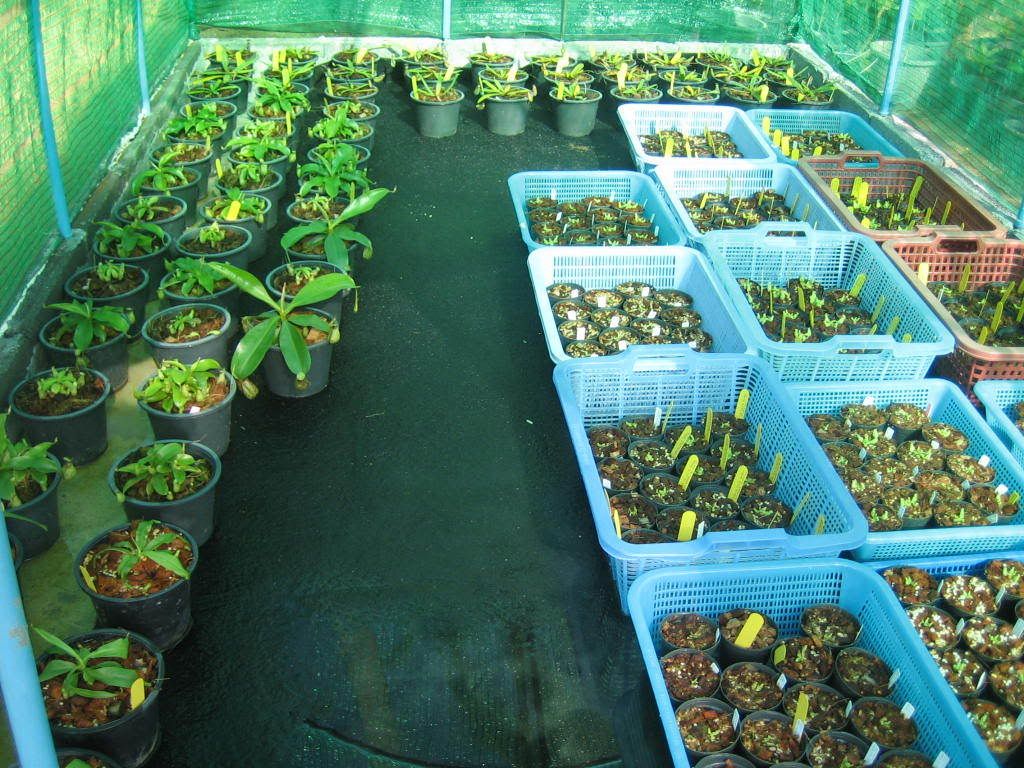 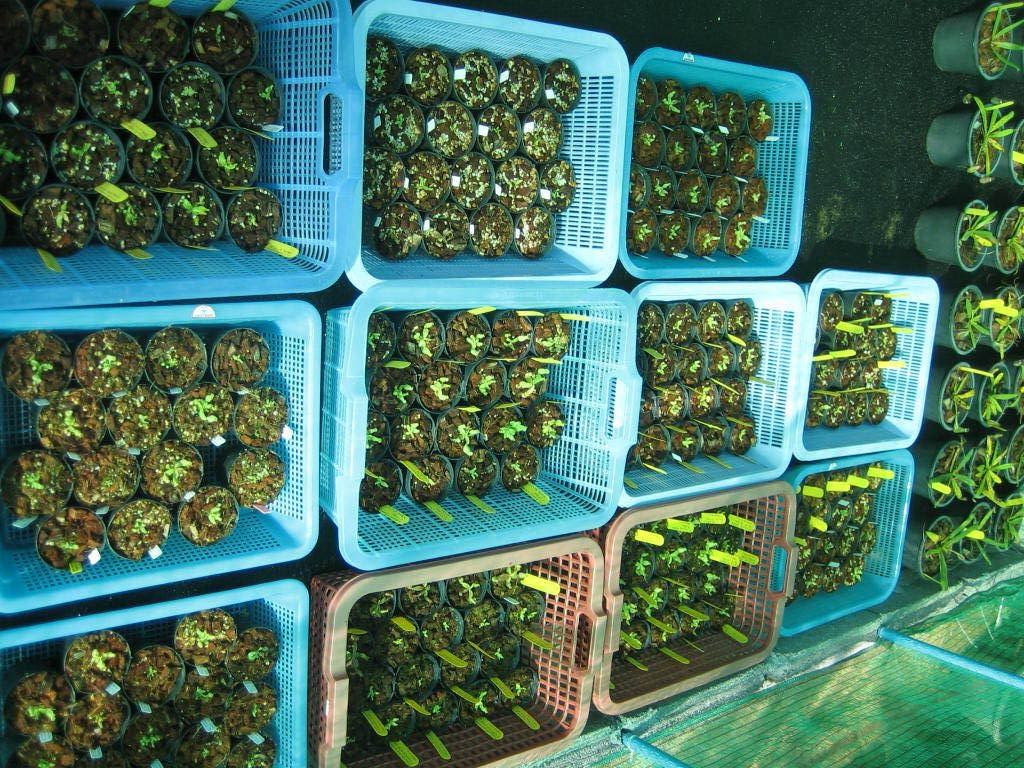 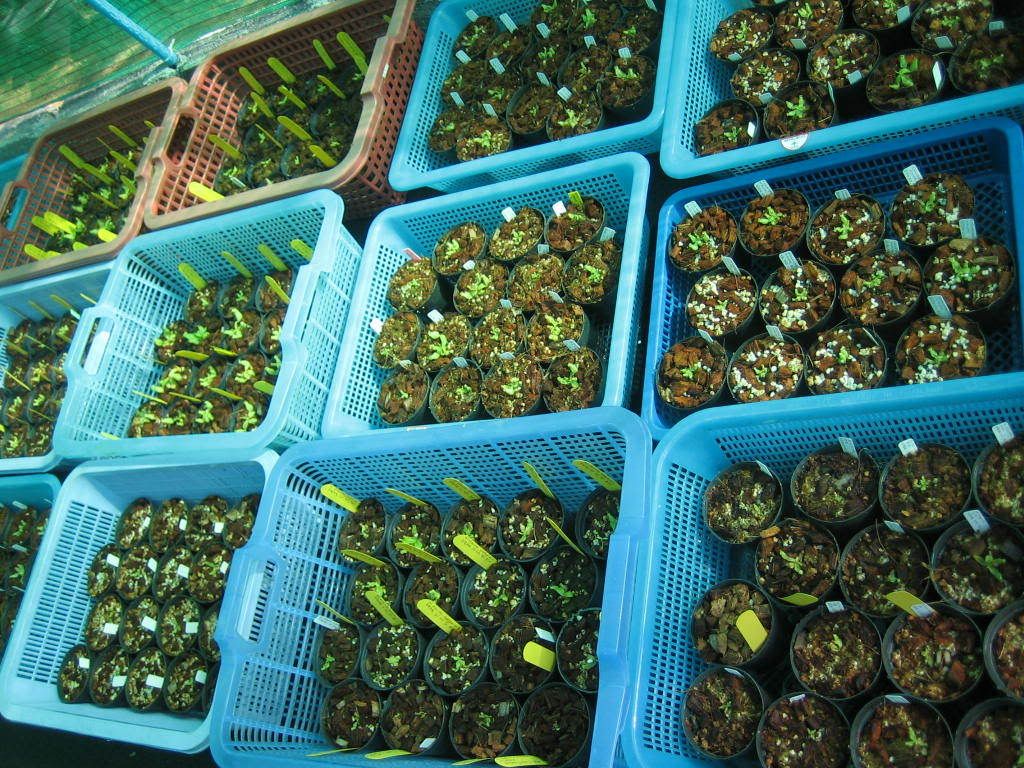 The black stuff in the background of this hookeriana is the capillary mat I spoke about...it allows the water to soak up into the pots throughout the entire floor area evenly. 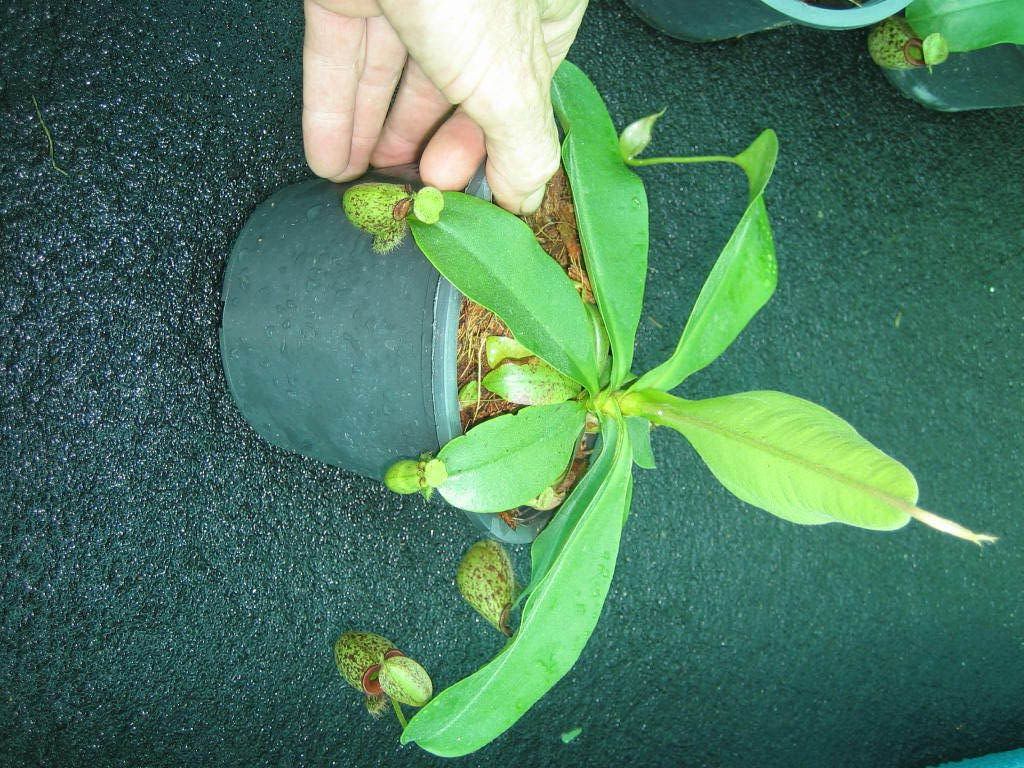 
|
 |
| Currently Active Users Viewing This Thread: 1 (0 members and 1 guests) | |
| Thread Tools | Search this Thread |
| Display Modes | |
|
|